
Your Cart is Empty


Toilet replacement seems intimidating at first, but in reality isn't s difficult as it sounds. Follow these step-by-step directions to successfully complete the job.
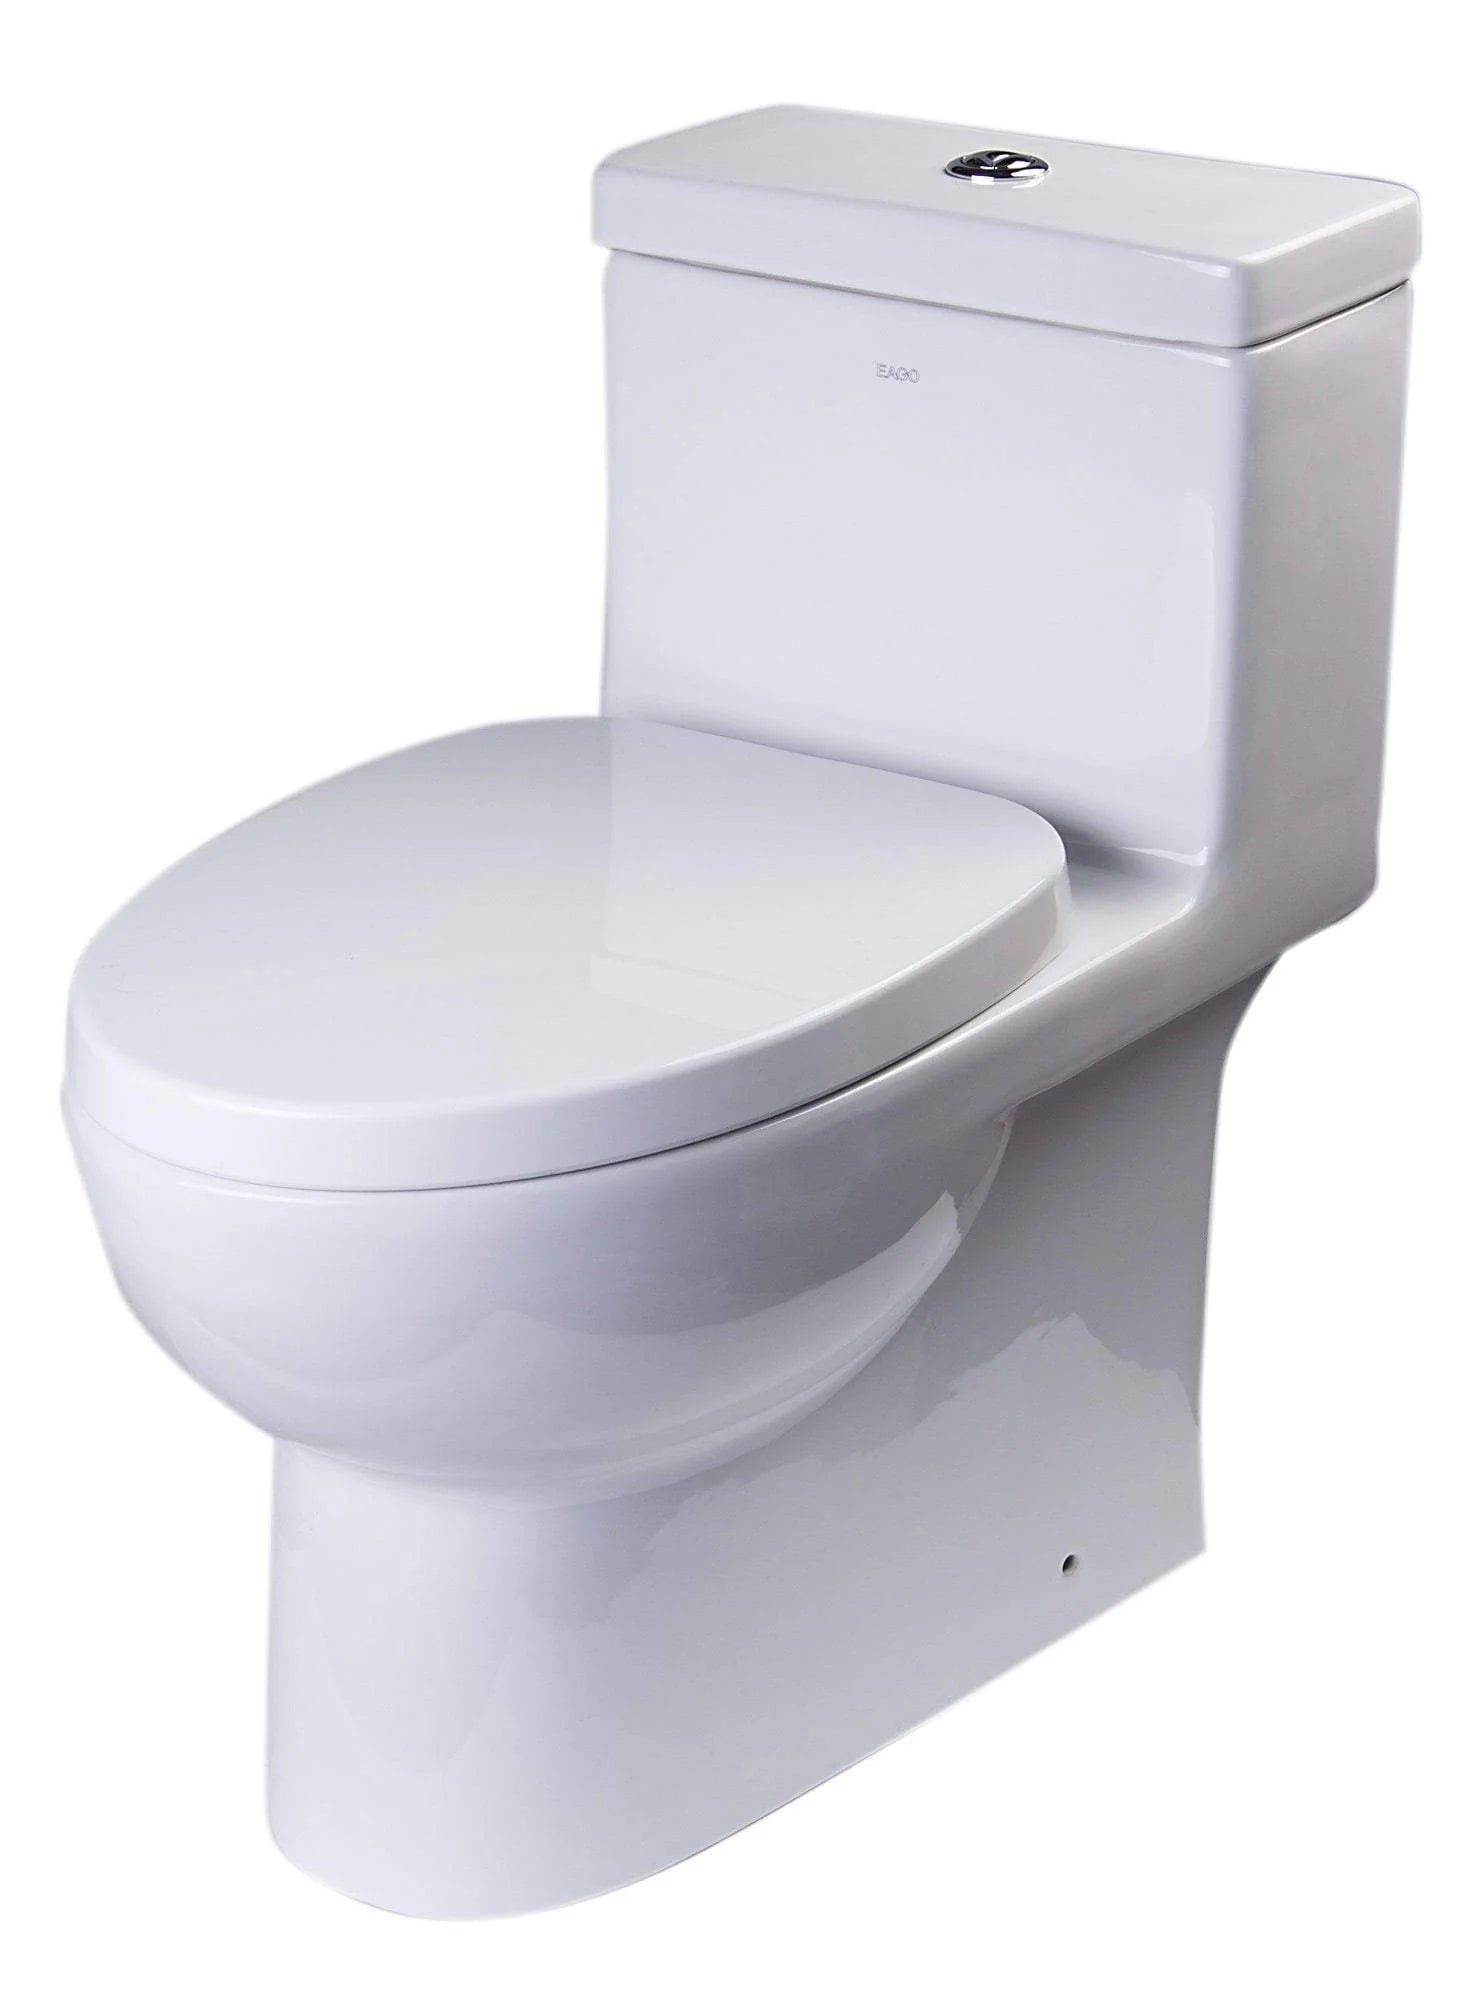
Before you begin, make sure you have all the necessary supplies on hand. This includes a new toilet, wax ring, adjustable wrench, screwdriver, and a bucket.
Locate the shut-off valve behind the toilet and turn it clockwise to shut off the water supply. Flush the toilet to remove any remaining water in the tank and bowl.
Use the adjustable wrench to disconnect the water supply line from the bottom of the toilet tank. Be sure to have the bucket handy to catch any remaining water.
Loosen the bolts at the base of the toilet using the wrench. Carefully lift the toilet straight up to remove it from the floor. You may need assistance as toilets can be heavy.
Remove the old wax ring from the flange on the floor. Place a new wax ring in its place, ensuring a proper seal for the new toilet.
Position the new toilet over the flange and lower it onto the wax ring. Secure the toilet in place by tightening the bolts at the base. Reconnect the water supply line and turn on the water.
Flush the toilet and check for any leaks around the base. Make any necessary adjustments to ensure a proper seal. Congratulations, you have successfully replaced your toilet!


